Monday, July 18, 2011

Strawberries!

Since we can't plant everything in our own backyard, we take advantage of the bounty at the local farms and markets.  This year, we've connected with River Bend Farm for a CSA share.  CSA stands for Community Supported Agriculture, and it allows consumers to buy food directly from a farmer by buying in in late winter/early spring, which in turn provides the farmer with up-front, early-season cash flow.

Earlier this month we went out to River Bend for some u-pick strawberries.  Annette, the owner/manager, always jokes that she should just weigh people before and after they go out for u-pick.  After unleashing the kids on the field, I'm beginning to think that's a pretty good idea.


This picture pretty much sums up the day - she's scouting for the perfect red jewel of a berry, he's just eating as many as he can.  Now, with a little more than nine pounds of strawberries safely in the freezer, I can start dreaming of pies...and smoothies...and jam...

What's your favorite strawberry concoction?

Wednesday, July 13, 2011

A Year Without a Summer

This was the headline on the Weather Channel the day we got back from our Hawaiian vacation, paired with a map of western Oregon.  Ah, Hawaii, where the sun shines and our family's backyard gardens are full of limes, mangoes, papayas, ginger, and plumeria.  We were spoiled to be sure, and returned rested and relaxed.  Before we left, we fit in a little more garden work:


We have some rather aggressive squirrels and realized we should plan to net our tomatoes and peppers to limit the garden pilfering.  Using some PVC pipes and brackets, we made a frame for our netting (I like to call this the "covered wagon"). Today's tip: execute this plan prior to filling the boxes with dirt, lest you find yourself un-filling the boxes.  Not so much fun.  It's also impossible to do once you've planted things, but I think our broccoli and cabbages will be safe for this year.


Aside from moving the dirt to make space, it was pretty easy: We got the thinnest PVC piping with the thickest wall (thinner pipe walls are too brittle for this use).  We then cut six-inch lengths of a wider PVC pipe - wide enough for the thinner pipe to slide into - and attached it to the sides of the boxes using a metal C-bracket.  You can forgo the PVC pipe in the bracketing and just use the metal bracket, but this gave us the flexibility to remove and replace the hoops as needed without dirt getting in the way. 


Success!  Tiny broccoli heads had already started forming...

...and check out those "guaranteed to grow" carrots.

We were feeling rather proud of ourselves.  In the last two boxes we planted basil, green onions, cucumbers, green beans, peppers, and tomatoes.  We're really excited about the peppers and tomatoes - we picked out our starts from Jeff's Garden of Eaton, a local treasure.  Jeff cultivates literally hundreds of different varieties and sells them from hoop houses at his home in addition to some local markets.  This year we picked out an heirloom sweet pepper called "Doorknob," a purple bell pepper, a grape tomato called "Sprite," and another tomato called "De Barrao Black Ukrainian."

Two weeks of Oregon's unseasonably cool summer weather later, we returned to our garden to find things going pretty well, except...

Hmmm, I'm pretty sure broccoli shouldn't look like this. 

Most fertilizers have three numbers on them - one promotes fruiting and flowering, one promotes leafy growth and thick stalks, and the third number indicates water retention and overall plant health.  It turns out that the "general garden soil" we bought for our beds had the fruiting and flowering kind of fertilizer added.  Great news for the tomatoes, peppers, cukes, and beans, but not so much for the broccoli. 


Gardening vocab of the day: bolting.  When a plant that one usually harvests for leaves or stalks starts flowering, it's no longer tasty or in some cases, edible.  With herbs (like our basil) you can pinch off the flowers as soon as you see them, but with broccoli...well, at least it's sort of pretty.

Sunday, June 12, 2011

Finally planting something!

It seems so far that this is more of a construction blog than a gardening blog, but I promise we do finally get something into the ground.  First we had to place (and level, and fill) those beds.

Thanks to those anchor posts we included, we didn't actually need to level the whole space.  Instead we marked out where the corners of each bed would be, and dug holes for the posts there.  We also made some small trenches where the sides would hit the ground.  The idea was that the posts would hang down into the holes and the sides would be flat on the ground.  This was much, much easier (and less frustrating) than trying to perfectly level the whole space, especially since our weed excavation had left the ground a bit lumpy.  We sucessfully leveled the boxes, although one sits a titch higher than the other two.  Just a bit on wonky charm, right?

We filled in the holes under and around the anchor posts, and then lined the bottom of the boxes with newspaper (two layers thick) as a bit of weed barrier.  I had picked up a bunch of old student newspapers from the University of Oregon (where I work), and geekily enjoyed that the front page story was about an initiative from my department, featuring a number of quotes from - who else? - the friend who helped us build the beds. 

Now came the part we thought would be easy - filling the boxes with dirt.  Seriously, how hard could that be?  Just get 2.5 cubic yards of garden mix delivered (wow, that's a big pile of dirt), load it into the boxes (25 wheelbarrow trips down, only 500 more to go), level it out (like rowing a canoe through mud for 3 straight hours), and tamp it down (easy as hiking through loose sand).  The blessings?  The littlest gardener had an extra-long nap that day, allowing us to do this whole job without interruption.  And little miss gardener was a big help in the tamping down process - she just pulled on her boots and marched around in the boxes.

Finally, finally, we were ready to plant some veggies.  To help us decide what to plant, we consulted the Veggie Calendar, a brochure from the Portland Nursery.  It very helpfully lays out when to plant various things that one might grow in our area, including the ideal time and method for each vegetable.  Looking at the time of year and the unseasonable cold we were having, we decided to start with cabbage, broccoli, and carrots.

Since we had spent most of our day working on the beds, we didn't get to the home improvement store until close to closing.  When you don't really know what you're doing, it's not a great idea to try and get everything in the last 20 minutes a store is open.  Still, it went pretty well.  How many broccolis can we expect to get out of a broccoli start?  Who knows, let's get two!  Look, these cabbage starts come in a six-pack.  Sold!  Then we came to the wall of seed packets...


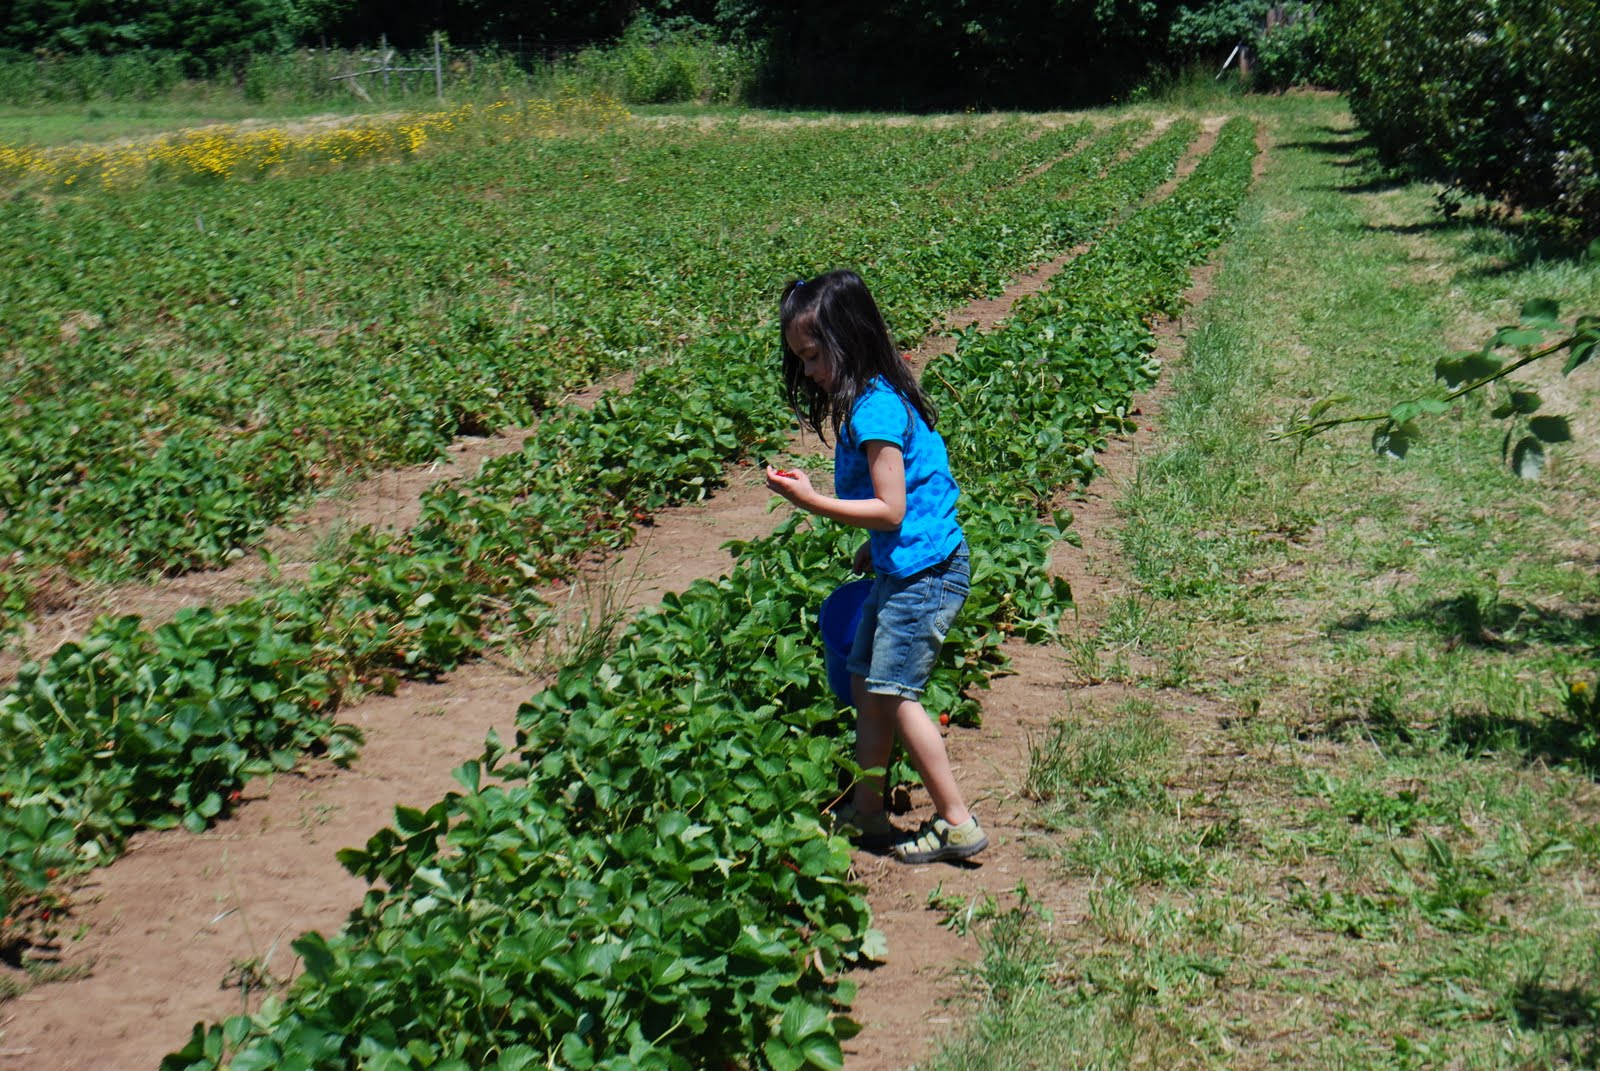
Carefully planting a cabbage

When I was pregnant with little miss and we were registering at our big box store of choice, we made the unfortunate decision to start with the wall o' feeding implements.  My second-trimester self looked at the floor-to-ceiling display of bottles, nipples, pump accessories, and replacement parts and burst into tears.  Facing the giant seed display was a similar feeling, although not being pregnant, I didn't cry this time.  There are a lot of different brands of seeds.  And this was the first time it occurred to me that there are different varieties of carrots.  We went for organic seeds, both for the organicness of them and because it helped narrow down our options.  We decided on the Danvers variety, a stubbier, thicker type of carrot.  And helpfully the packet promised, "guaranteed to grow!"  Sounds like just what we'd need.


Armed with our new plants, we ventured back into the yard.  We put in both broccolis, one row of carrots, and four of the cabbages.  We would have done all six, but we wanted to save space for all the warmer-weather veggies still to come.  And here's our gardening vocab for the day: sequencing.  Yes that's right folks - you do not need to plant all four cabbages on the same day.  If you do, you will most likely end up with a lot of cabbage all at the same time.  Oops.  Maybe some homemade sauerkraut will be in everyone's stocking this Christmas.    


One bed done

Ta da!


Monday, May 30, 2011

Raised beds, part 1

We really started the garden work a little more than a month ago.  A friend of ours does a bit of veggie gardening, and talks about it in a way that makes gardening sound accessible and fun.  And - clearly not knowing what he was in for - he agreed to bring over some tools on a late April Saturday to help us build some raised beds.  He offered know-how and equipment, we offered elbow grease and dinner on the grill. 

First came demo.  We designated a spot at the back of the yard that got pretty consistent sun as garden land.  Unfortunately it was currently inhabited by weeds, the start of something invasive and prickly (we think it was blackberries), and half of a car-sized rosemary bush.  As yard work goes, this kind of demo is pretty fun - indiscriminately ripping things out of the ground has a therapeutic aspect to it.  The weeds went into our yard waste bin that gets hauled away, but the rosemary, being not a weed, I reckoned could go into our backyard compost bin.  Let's call this lesson #1:  As it turns out, one should not throw an entire plant into the compost whole.

[Truly, the compost bin is a topic for another day.  The previous homeowners started it, and we just sort of throw things in and turn it every so often.  I have since learned that this will eventually result in usable compost, but not for many years.  Good efficient composting involves a ratio of "greens" and "browns," which sounds suspiciously like math and therefore will be dealt with at a later date.  For now, we throw in corn cobs and apple cores and the squirrels dig them back out.  The end.]

Now for construction.  Our materials, for three beds:
- Nine cedar boards: two for each  long side and one to cut in half to make the short sides.  Our boards were 6 feet long, 2 feet wide, and about two inches thick.  Although the person at the home improvement store tried to convince us to get the super nice grade of cedar, we remembered that our end product would be boxes of dirt, and got the cheaper utility grade cedar for this.
- Four 12-foot 2x4s of the fancy cedar, to make a nice rim around the top of the boxes and for anchor posts.
- Eleventy-jillion no-split decking screws.  Enough to cover what we needed plus an allowance for all the screws we'd end up stripping or losing.  As I understand it, decking screws are less likely to unscrew themselves under pressure.

To make the boxes we used a basic butt joint.  Our friend said that you can just stop here, but we also added anchor posts in the corners to add stability and help when it came to placement.  To do this we cut 1-foot lengths from one of the 2x4s and screwed them into the corners of the bed, but offset so that about 6 inches of the post stuck out beyond the bottom edge of the bed.  We used the rest of the 2x4 cedar to make a rim around the top edge of the bed.  This was a little more complicated, involving miter joints, but it made the beds look more finished and complete.

This has already turned into a long post, so we'll save the placement and filling steps for another day.  I'm sorry to say we didn't take any pictures during all of this, as it was before I had any plan of blogging about anything.  I'll make sure to take some pictures from here on out.

Thursday, May 26, 2011

Welcome to my gardening journal

We have a big yard - about a third of an acre.  Maybe not big by some folks' standard, but huge for non-gardeners like my husband and I.  After three years of living here and doing little more than mowing the lawn, we've decided that this year we're going to venture boldly into our (over)developing jungle.  There's going to be a lot of trial and error, but I look forward to eating food grown in the garden, figuring out just what exactly that shrub is in the northeast corner, and generally feeling like I know how to care for the yard. 

I've read The Secret Garden dozens of times, and I've realized that pretty much everything I know about gardening I learned from Dickon.  Which is to say I know you've got to give plants some room to breathe, and a branch with a bit of green in it is "wick."  I'm sure there's a bit more to it than that, and that's what I'm here to figure out.